
The Process For a Yard That Pays You Back
From the first walk-through to the final handoff, one owner-operated team manages every step: consultation, design, planning, installation and completion.
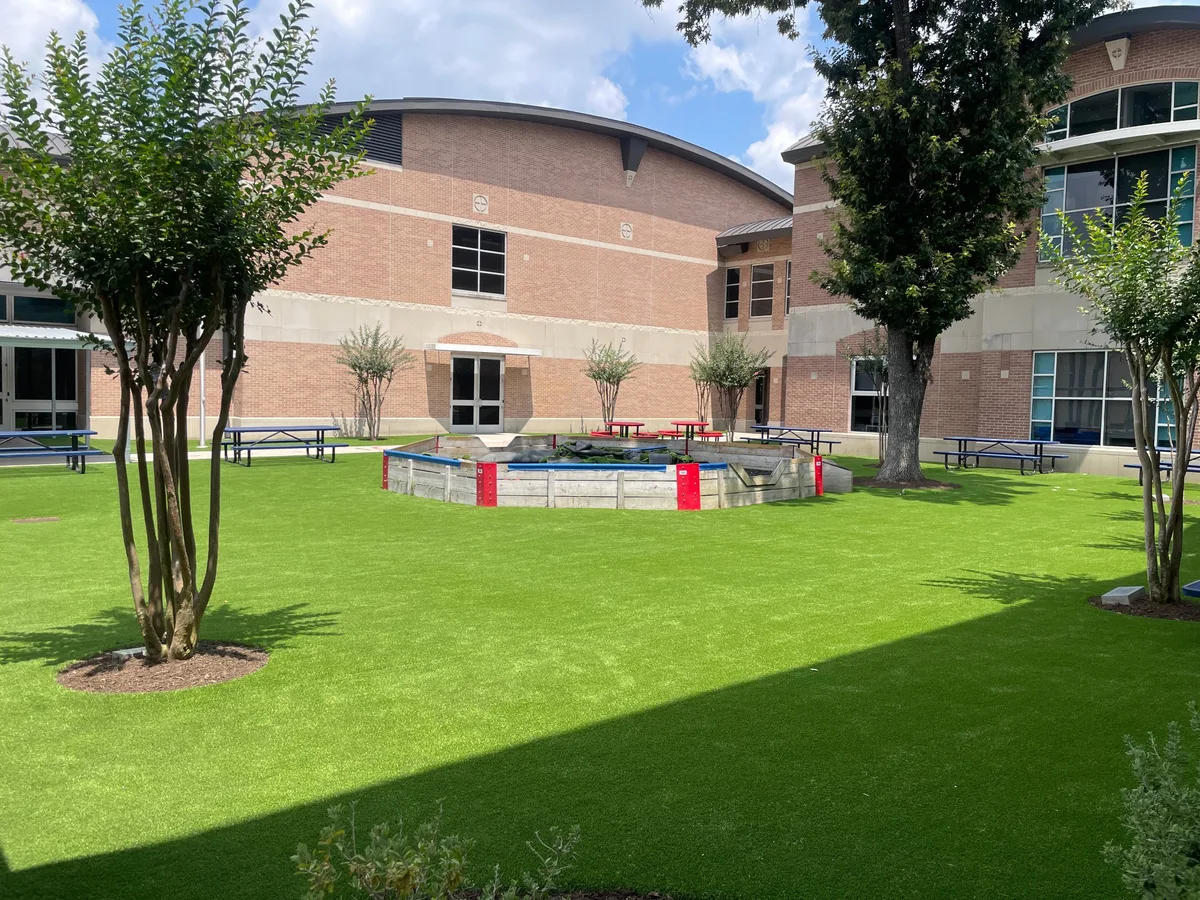
Our five steps
Consultation
Walk the property together. Sun and shade, grade, drainage, soil, access, how the family wants to use the yard, and the budget it has to fit.
Design
Develop the layout of the yard with imaging.
Planning
Finalize selections, drainage and irrigation design.
Installation
Demolition, grading, irrigation and drainage, base preparation, hardscape, structures, turf or sport court all sequenced to be seamless for client.
Completion
Final grade and clean-up, a walkthrough of how to care for it, and support after handoff.
What Leads to Perfectly Installed Artificial Turf
Site Evaluation
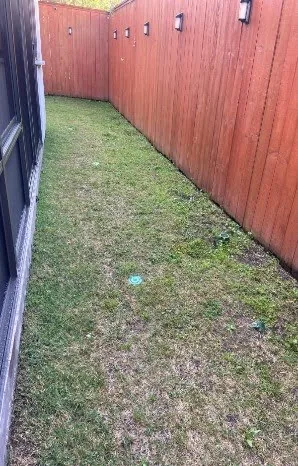
The installation area is thoroughly inspected for soil type, existing vegetation, grade, tree roots, and underlying drainage patterns to plan proper elevation, water runoff, and excavation depth.
Site Excavation and Preparation
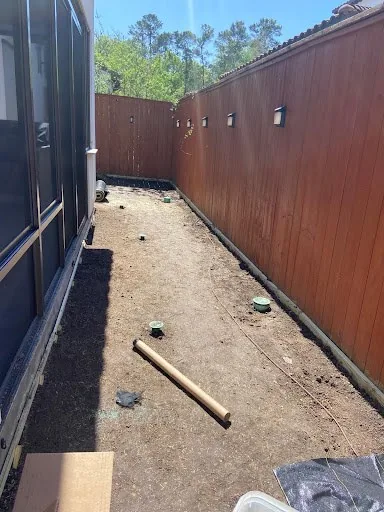
The top layer of sod, grass, roots, and organic soil is excavated and hauled away to create a clean, stable subgrade at the appropriate depth below finished grade.
Subgrade Stabilization & Weed Barrier
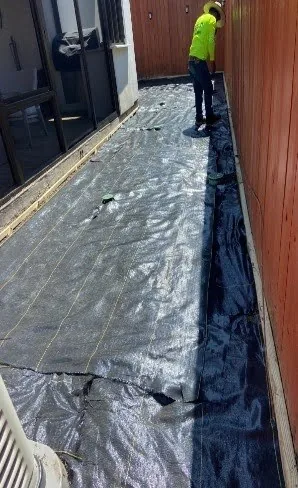
A heavy-duty, permeable geotextile fabric is laid over the excavated soil to suppress weed growth, stabilize the subgrade, and keep the aggregate base from mixing with the ground beneath.
Grade and Compact Base
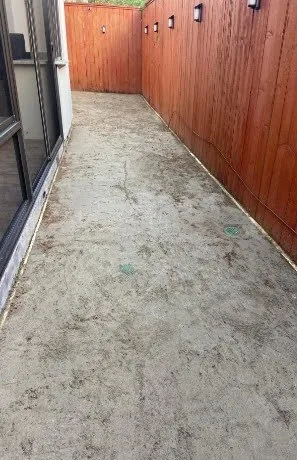
A crushed aggregate base (such as crushed granite or limestone) is spread, graded for proper drainage slope, moistened, and fully compacted to form a rock-solid, smooth foundation.
Turf Install with Infill Application
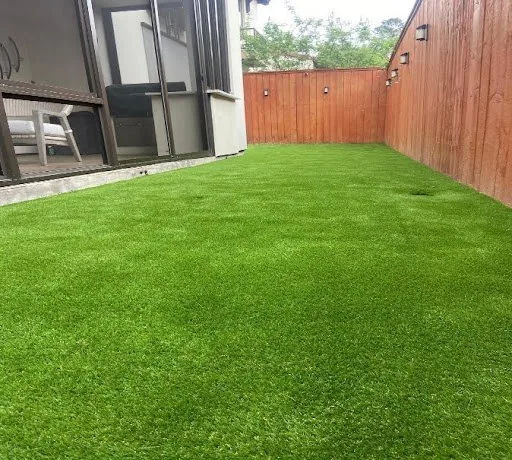
The synthetic turf rolls are laid, stretched, custom-trimmed, and joined at the seams before antimicrobial silica sand or rubber infill is brushed into the blades to weigh the turf down, keep fibers standing upright, and cushion the surface.
What Leads to a Perfectly Installed Sport Court
Excavation
The existing soil, vegetation, and debris are dug out and removed to the specified depth to establish proper drainage slopes and create a stable, level subgrade for the court's subbase.
Concrete
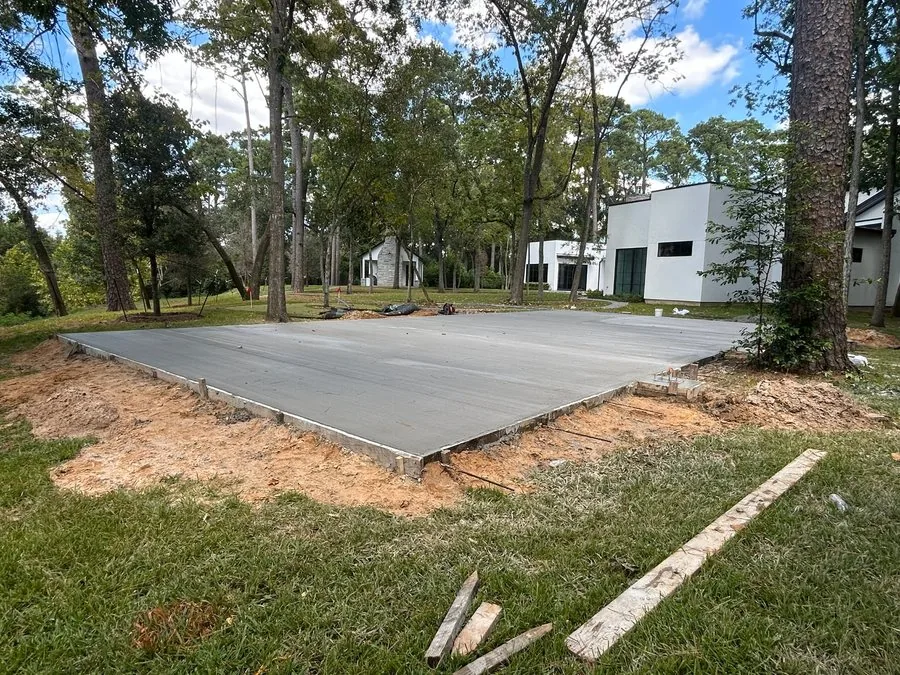
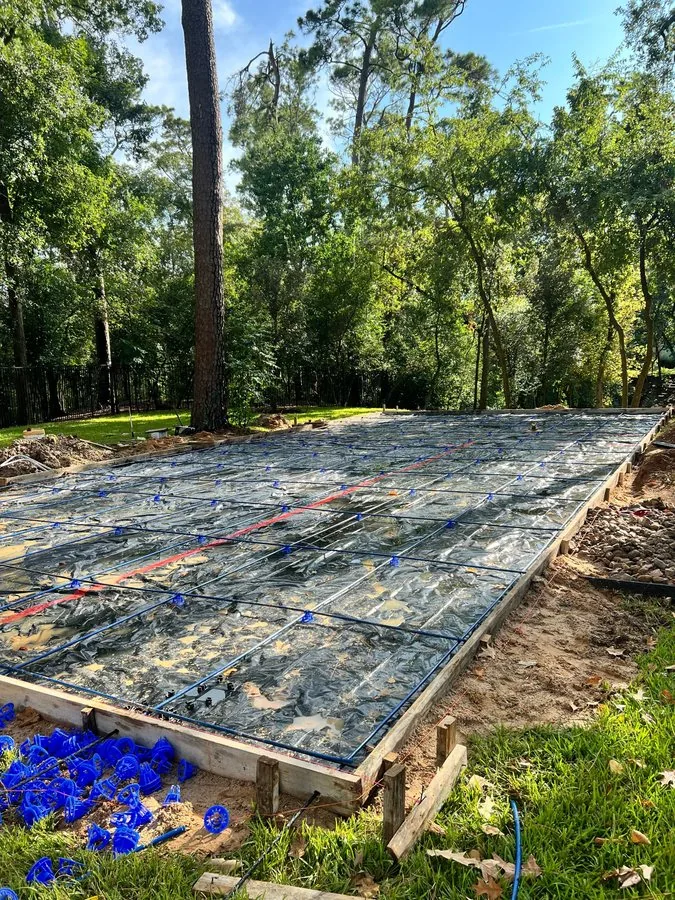
Formwork, steel reinforcement, and post-tensioning cables or rebar are set before pouring and finishing a high-strength concrete slab to provide a flat, durable, and crack-resistant foundation for the sport court.
Power Acid Wash Step
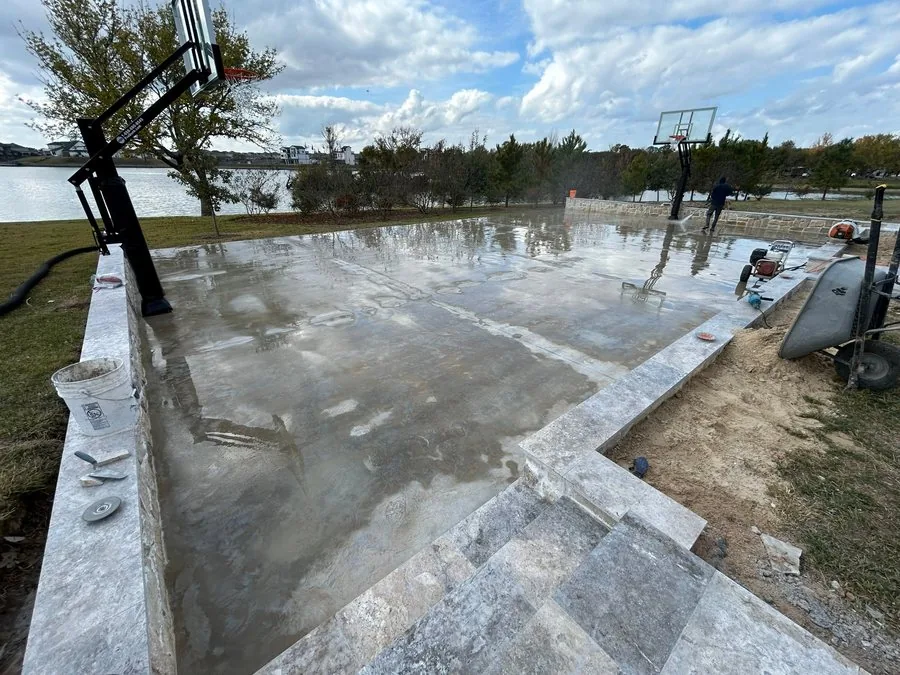
The concrete or asphalt surface is thoroughly cleaned using an acid solution and high-pressure water to remove contaminants, open the pores of the substrate, and ensure proper bonding for subsequent coatings.
Crack Fill And Patch Binder (as needed)
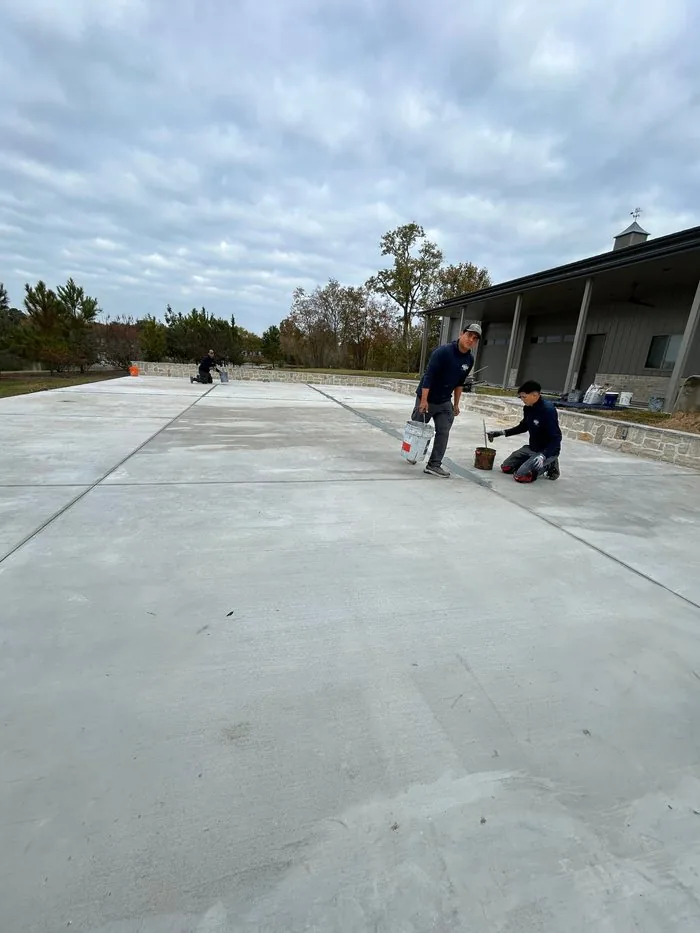
Any existing surface cracks, low spots, or birdbaths are filled and leveled using a heavy-duty acrylic patch binder matrix to create a flat, structurally sound foundation.
AR Prep And Install Acrylic Resurfacer
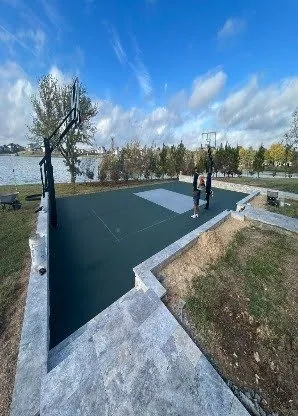
The entire court is prepped and coated with a textured acrylic resurfacer layer to fill minor surface imperfections and establish a uniform, durable base for the color system.
Apply Color Coats (Multi-Colored)
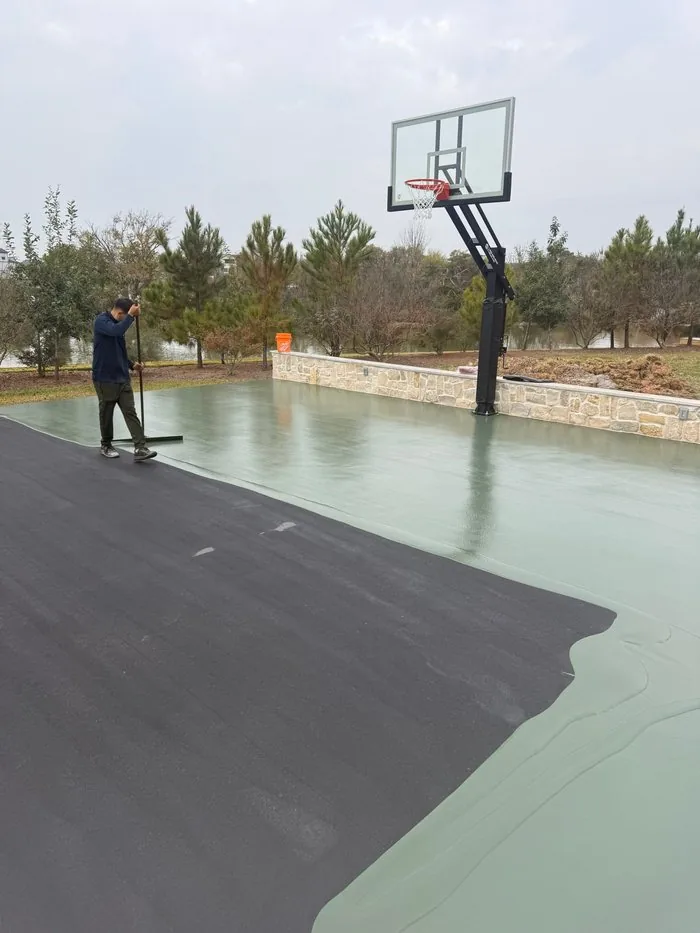
Multiple layers of pigmented, highly durable acrylic color coats containing fine silica sand are applied to provide the desired aesthetic, UV resistance, and consistent ball bounce and foot traction.
Apply Line Primer And Line Paint
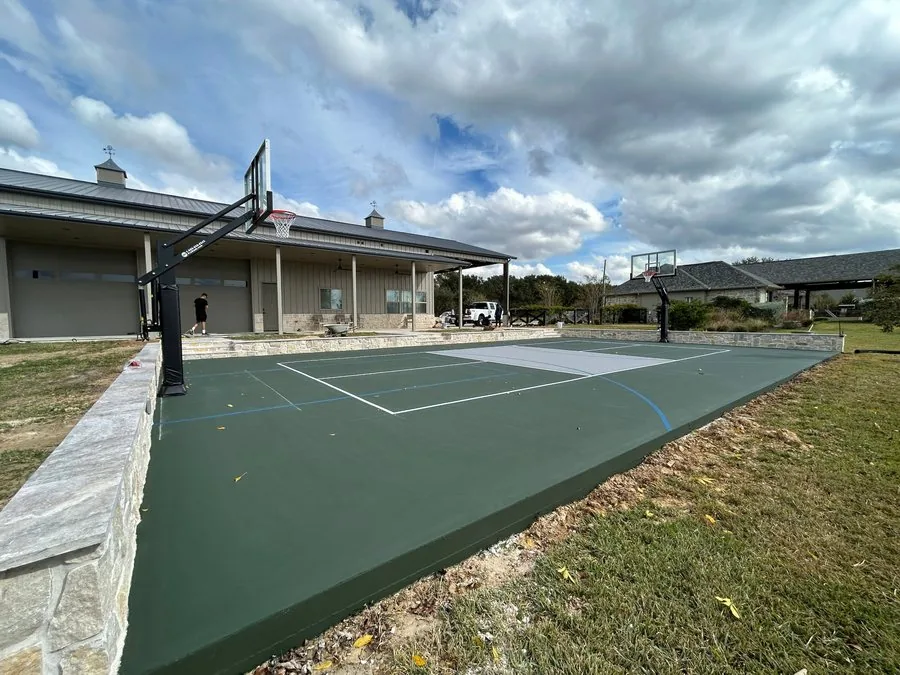
Court boundary and playing lines are taped, sealed with a clear line primer to prevent paint bleed, and finished with crisp, heavy-duty white or colored athletic line paint.
Custom Add-Ons
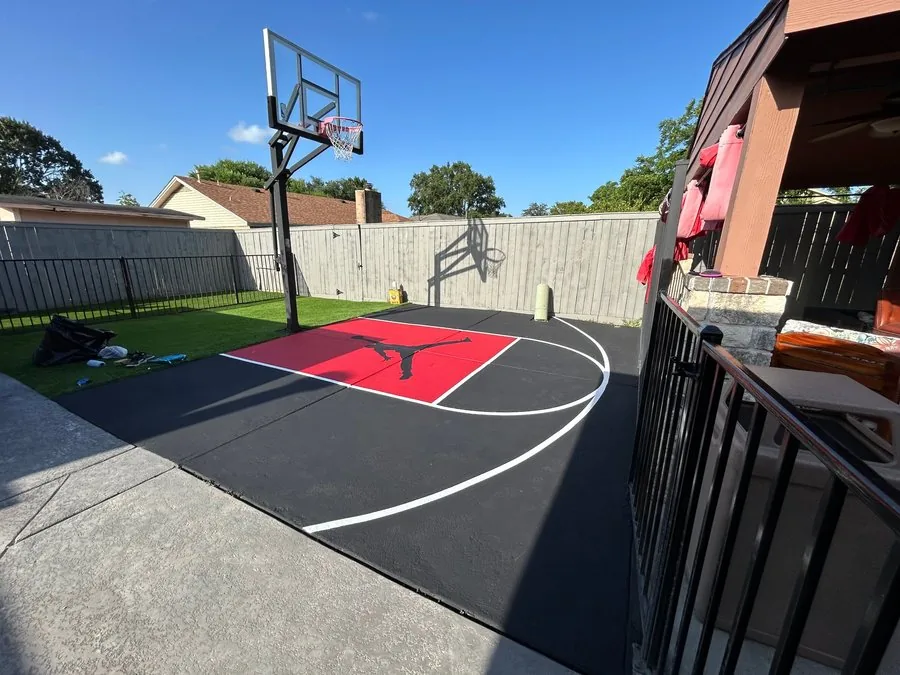
Fencing, Lighting, Logos, Goals and Netting available.
Ready to start your project?
Tell us about your property and what you want it to do. We will schedule a site visit and give you a written scope and schedule with your price.